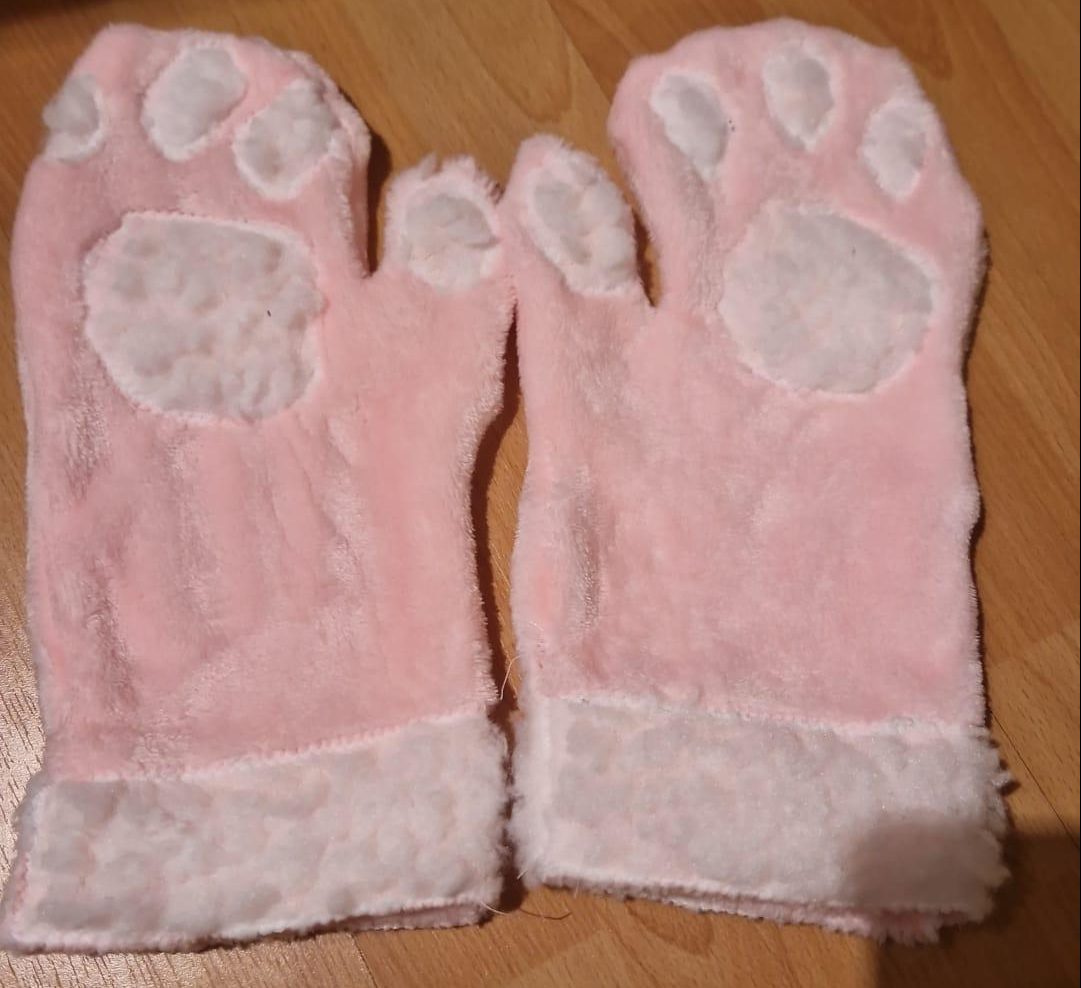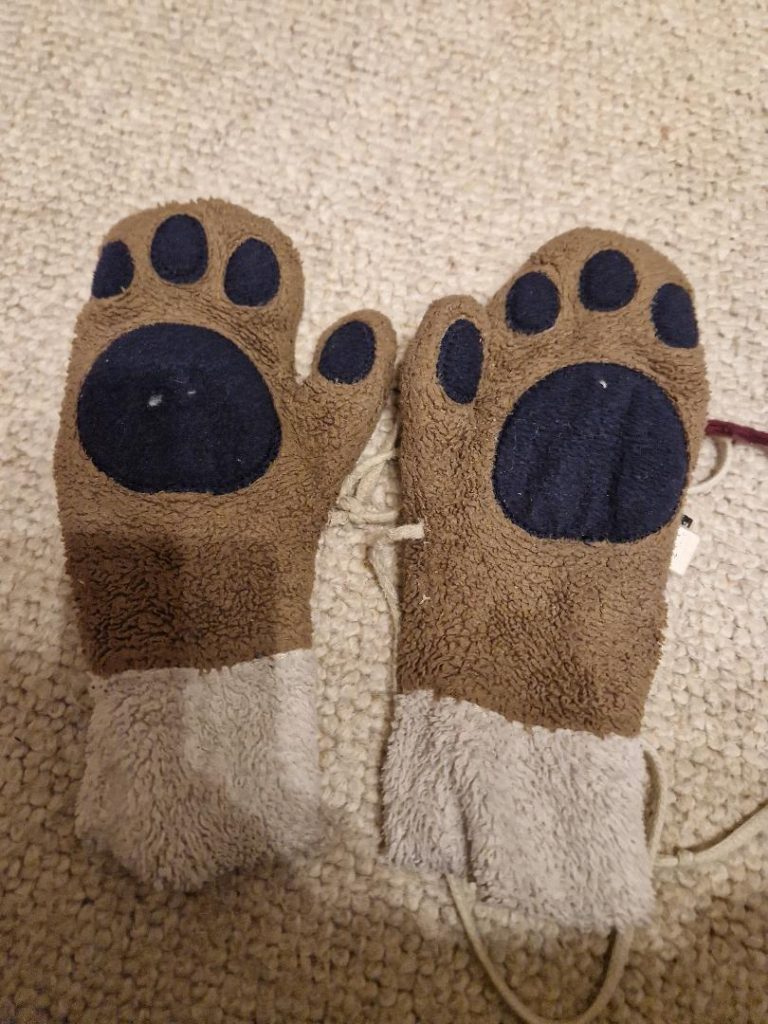
10 years ago, my flatmate at college gave me a pair of paw mittens which she bought from China. I love it so much as it’s so cute! I use it everywhere I go in winter. After a few years, understandably it became quite worn out, but I couldn’t find anything similar! Most of what I found are fingerless gloves, which I don’t like, because the tip of my fingers are the coldest part of my hand.
So I decided to make one! I am still learning how to sew, so it’s not perfect, but quite pleased how it found out :) After all, mittens are not very fitted, so the sizing is a little off, it’s not a big problem. I made it 1.5 cm too big for seam allowance, but at the end it ended up too big, but perhaps because my cuddle fleece fabric (from Hobbycraft) is double-sided, meaning I didn’t need any lining.
STEPS
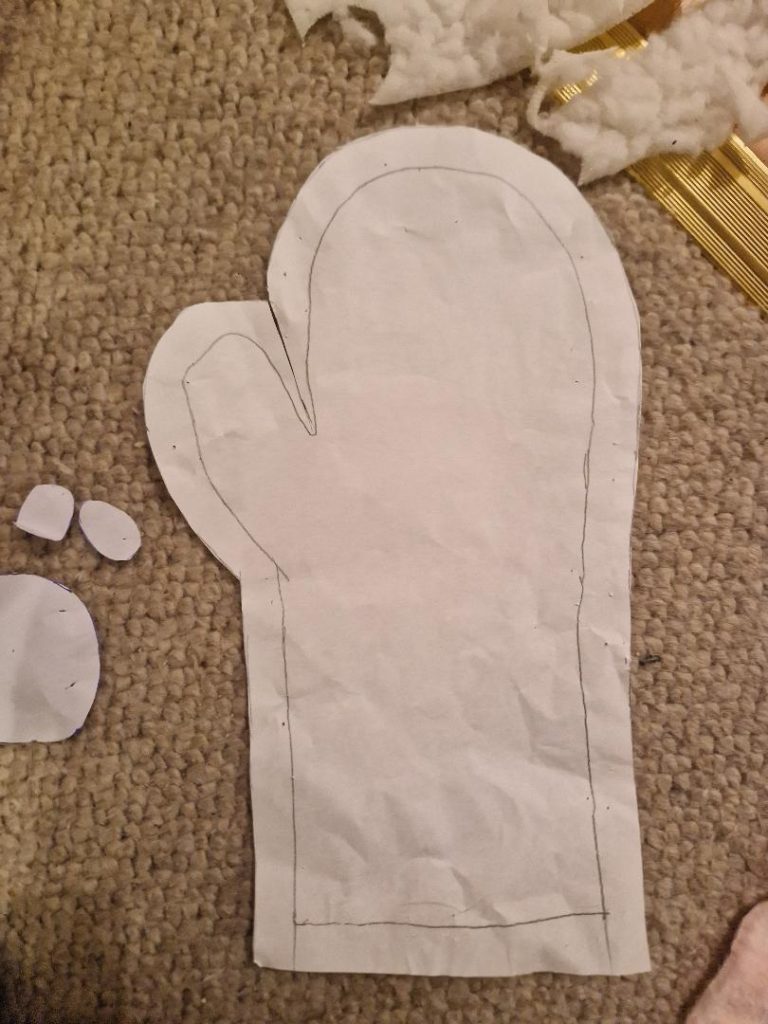
Step #1 – Make the pattern
Firstly, I traced the outline of my mitten on a piece of paper, and added 1.5 cm seam allowance. Honestly, it became too big as I mentioned above – though I think it is because the original paw has a fleece lining inside, and the new paw mitten doesn’t have a lining, because the cuddle fleece I get from hobbycraft is nice and fluffy both sides so I didn’t want to add any further lining. I also traced the the paw pads too, but these ended up to be too small, so I ended up just cutting something that “looked right”.
Step #2 Cut the fabric!
I pinned the pattern to the fabric and then cut them – 4 pieces of the mitten itself (front + back for each end) and 2 sets of the paw pads. I also cut 4 pieces of white strips for the wrist, which you can see on the original one.
Step #3 Arrange and sew them!
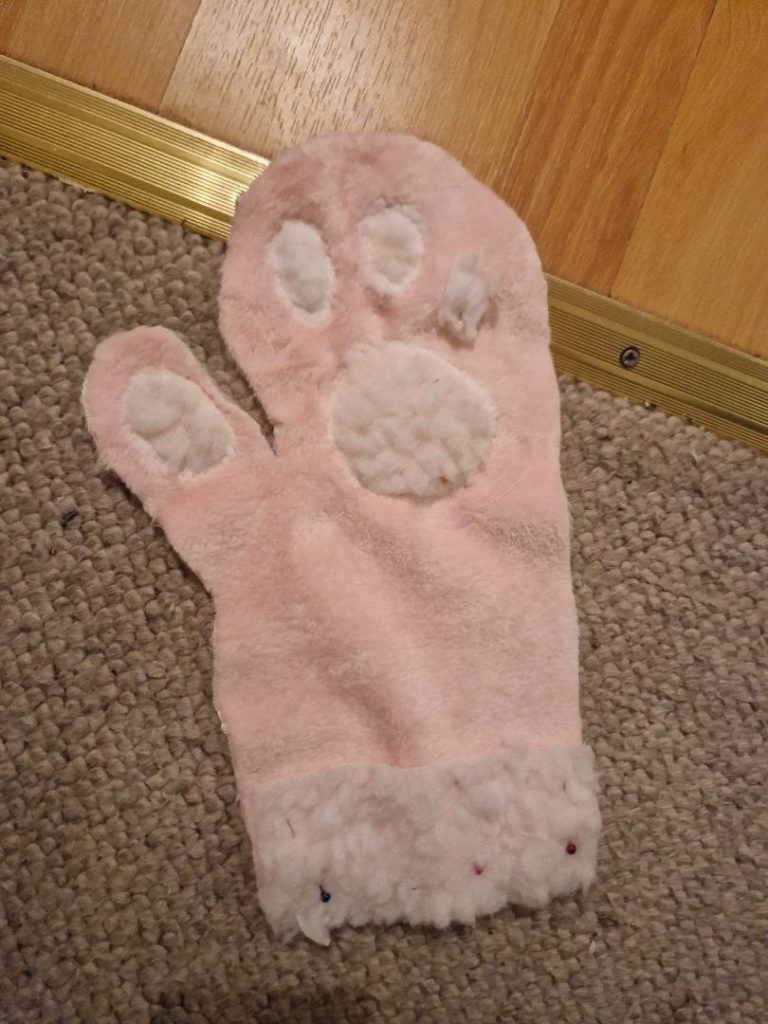
I’ll break the steps down to make it easier! I used 90 needles as the fleece are quite thick, and I thought it worked well. I used my beloved Singer Tradition sewing machine, with white Guttermann thread. I did find a big difference using Guttermann thread instead of just using any thread which snaps more easily, especially for thick fabric such as fleece.
Step 3a : I first sew the paw pads and the wrist piece, as these would be a pain to sew after the mittens are joined. I pinned them in place and sew around with a zig zag. These actually helped to “tame” the floof that is at this point flying everywhere!
Step 3b: I then put right side together and then sewed the outline of the mittens, again with a zig zag. It did get quite tricky once it got to the wrist, because it became quite thick with 4 layers of fleece.
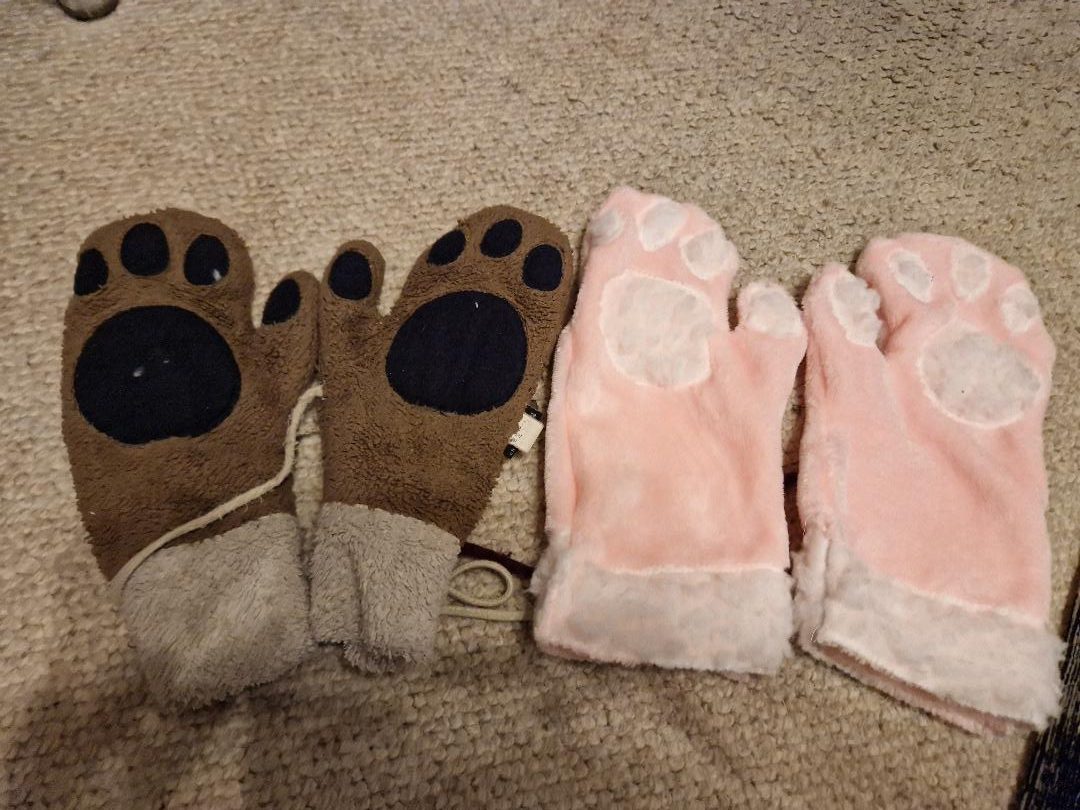
That’s it! I started at 7:30 and still unsure what I’m doing, so I properly got started around 8 pm. I had a tea break too but I was done by 10:30! I am very proud of my new floofy mittens. They are so soft and warm!

